Making a Through Mortice and Tenon Joint: Learning Objectives
Pupils should learn:
- that gluing to end grain makes a weak joint
- that there are standard wood joints that avoid gluing to end grain only
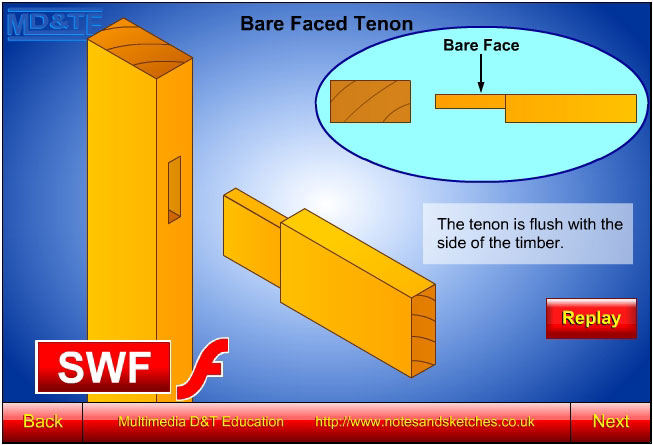
- that standard wood joints may be adapted for particular purposes, e.g. through mortice and tenon joint, stopped mortice and tenon joint, haunched mortice and tenon joint, bare faced tenon, etc.
- to measure accurately using a steel rule,
- to use a try square, mortice gauge, pencil and marking knife
- to use a tenon saw, mortice chisel and bevel edged chisel
- to glue timber using PVA glue
- to clamp timber using a G-cramp
- how to plane end grain.
Resources
Each pupil will need:
- 2 pieces of softwood 160 x 45 x 22
- work station on a woodwork bench ~ a woodwork vice
- pencil, marking knife, try square, mortice gauge, tenon saw, bench hook, mortice chisel, bevel edged chisel, mallet, G-cramp, small piece of scrap wood for padding under the G-cramp.
Activity
-
Students are given two pieces of timber (2 off 160 x 43 x 22).
-
Students mark around one end of both pieces of timber using a try square and marking knife.
-
Students measure 45mm from the line and mark a line around both pieces of timber using a pencil and a try square.
-
Students mark out the tenon using a marking gauge and a mortice gauge and mark the waste wood.
-
Students use a bevel edged chisel to pare along the waste side of the line (across the grain) so that a tenon saw may be located easily next to the line.
-
Students use a tenon saw to saw the tenon:
- holding the timber in a vice and sawing along the grain
- holding the timber on a bench hook and sawing across the grain
-
Students mark out the mortice.
-
Students clamp their timber to the bench and use a mortice chisel and a mallet to cut a through mortice.
-
Students assemble their joint.
|